When creating your LinkedIn profile, a quality profile photo will give your profile a complete look, and LinkedIn reports that profiles with a photo receive more views. The Center for Career Development typically has recommended not using a selfie, and I have certainly said that in our LinkedIn webinar. Instead, we have offered free professional portraits at our career fairs and other events.
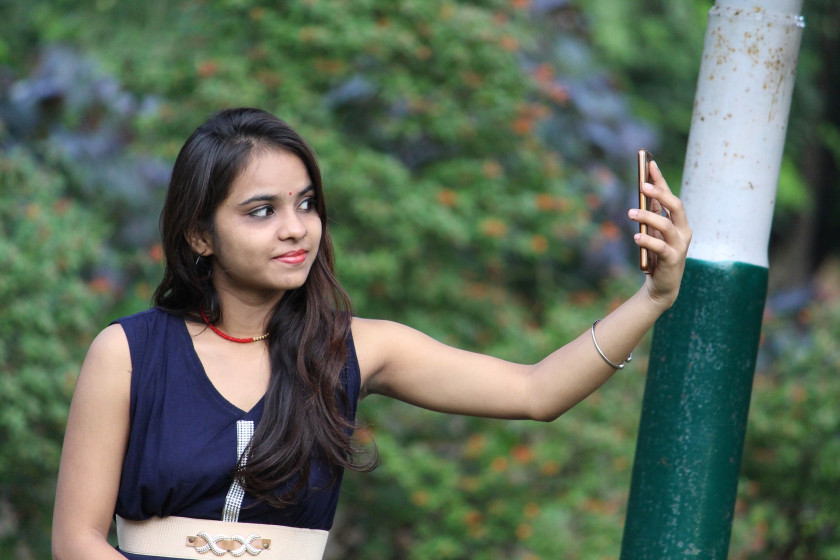
However, things have changed a lot in the last several months during the pandemic, and a selfie might be the most realistic way to add a professional portrait to your LinkedIn profile. Here are 5 steps to help you take a quality selfie.
1. Dress appropriately
Prepare for your photo by dressing (at least your top half) in attire you would wear to an interview or work. This will vary by industry, and if you need some ideas, check out some of your classmates’ or colleagues’ photos on LinkedIn. Be sure any hair is neatly groomed (as is possible for quarantine) and makeup is neutral.
2. Choose a neutral background with natural lighting
If possible, head outside to a shady spot with a neutral background. A nature landscape or the side of a brick building are great choices. You want to avoid harsh light that will cast dark shadows, and you don’t want to be squinting into the sun. Shade is your friend!
If going outside is not an option, aim for a location that provides a neutral background near a window with lots of natural light.
If you were to stand/sit square against your background and face the camera (i.g., your shoulders running parallel to the wall and the camera), it’s ideal if your light source (i.e., the sun or a window) comes from the side. If your light source is behind you, you will look silhouetted. If it’s directly in front of you, it can create distracting shadows and force you to squint.
3. Pose at an angle with space between you and your background
A common mistake is standing/sitting directly against your background (e.g., a wall) with your body square. When you are so close to the background, your body will cast distracting shadows onto the background. Similarly, having your shoulders square to the camera and background is generally perceived as less flattering. You’ll notice that most professional portrait photographers will have their subject sit/stand at an angle.
You’ll get a much better photo if you step at least a few feet in front of your background. Position your body so that it’s facing your light source and at an angle (about 45°) to your background. Then turn your head to face an imaginary camera running parallel to your background.

Diagram by Kelsey Keefe.
4. Position your camera slightly above your head
If you have a selfie stick, this might be a good time to pull it out! And, this doesn’t have to be strictly a selfie if you have someone to snap the photo for you.
Angle your camera to be parallel to your background. Remember, your face should be directly facing the camera, but your body will be at an angle toward your light source. Hold your camera slightly above your head pointed down toward your face. In pretty much any portrait, your chin will cast a shadow on your neck; holding the camera slightly above your head makes this shadow appear more flattering.
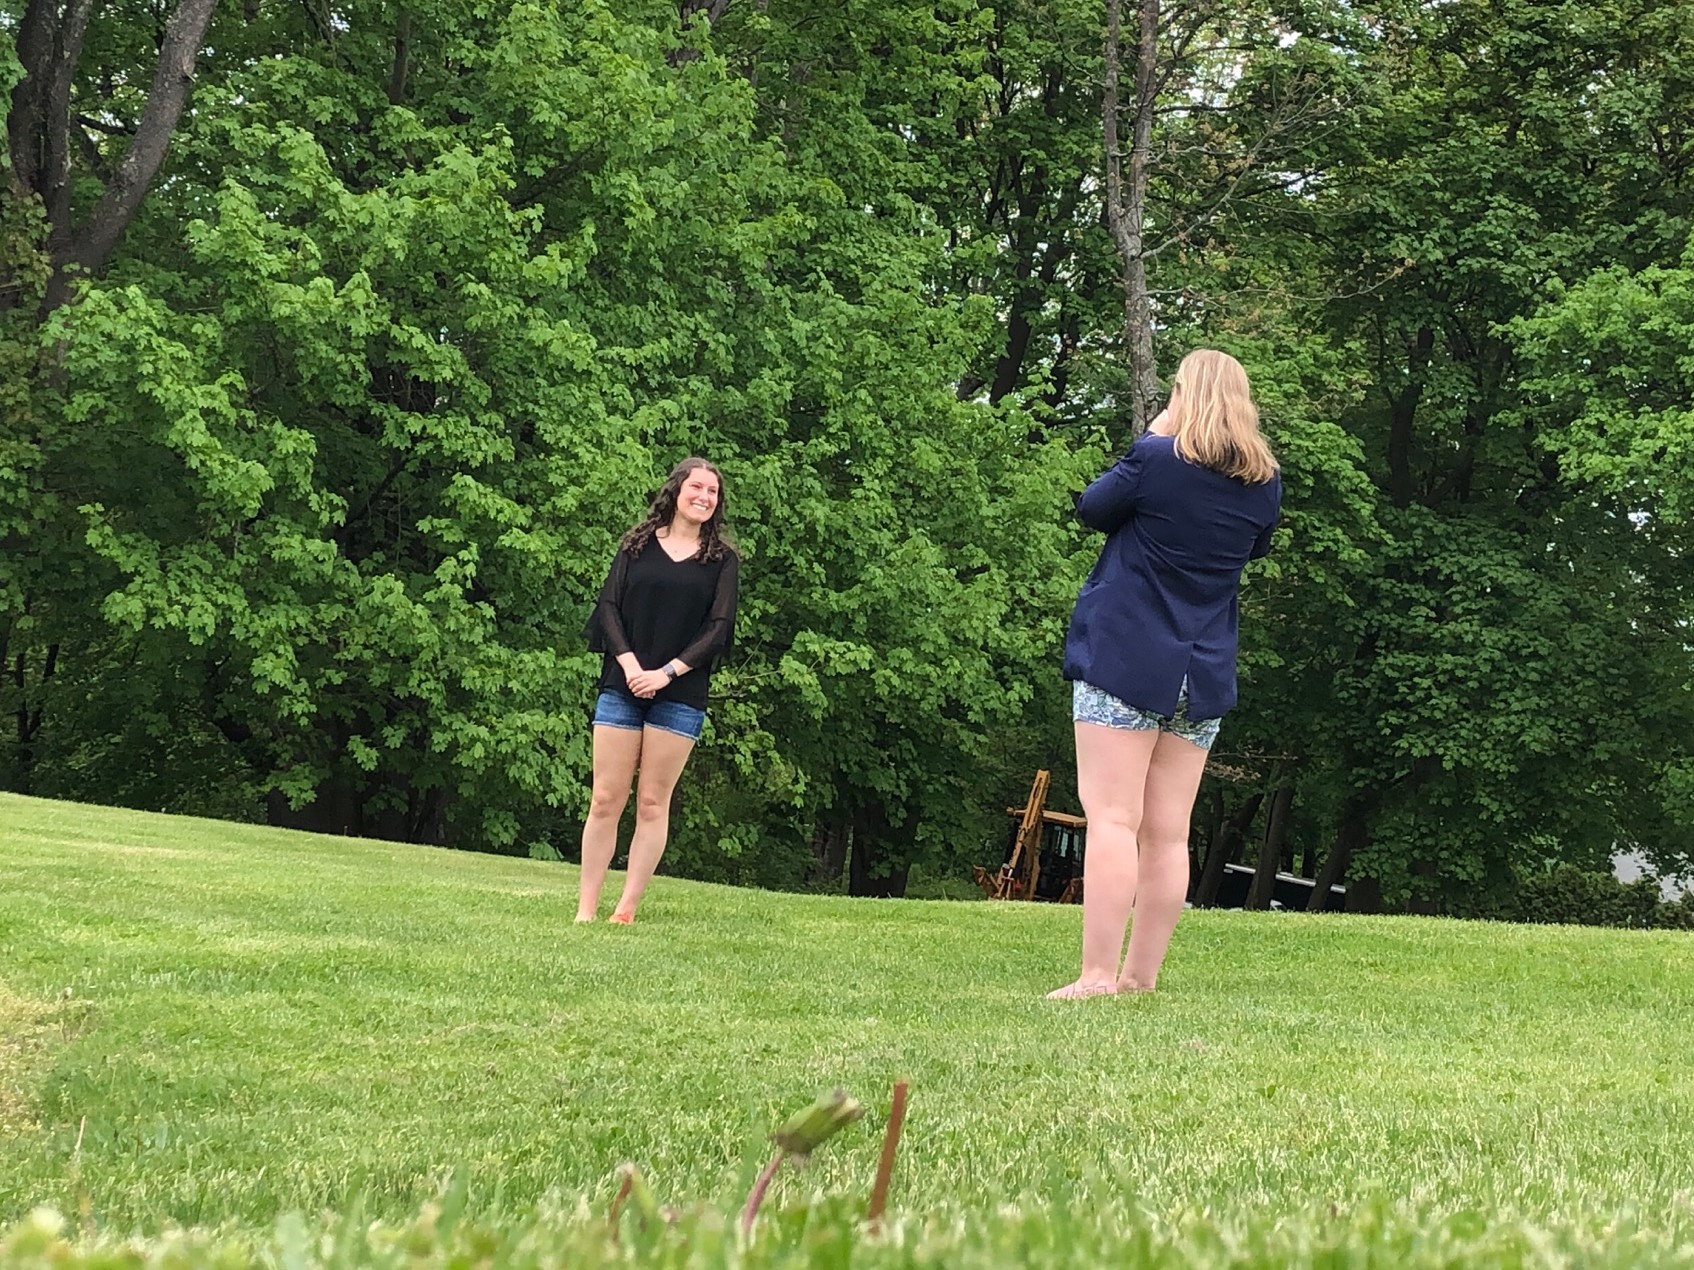
Career coach Lisa Famularo trying out the steps with the help of her partner Julia Anderson. Photo courtesy of Lisa Famularo.
5. Crop your photo close to your face… I mean really, really close
Once you’ve taken a lot of pictures and have one you’re happy with, you’ll want to create a few copies with different crops.
I’d recommend cropping a portrait with a standard ratio (4:3) that’s from about the mid-torso up, giving you a good standard portrait for a variety of uses.
For your LinkedIn profile, I recommend creating a square crop so that your head takes up about 75% of the photo. This is going to seem uncomfortably close. Everyone I’ve recommended this to has hated the idea, but hear me out.
In your previous portrait crop, your head probably took up about 20% of the photo. When you’re scrolling through LinkedIn, those profile pics are tiny. If your head is only 20% of the photo, that translates to nobody being able to clearly see you. If your head takes up most of the frame, people will be able to see your face when they’re scrolling through the news feed or looking at your profile on their phone. There’s little point in going through all this effort to take a great pic if nobody can clearly see your face!

Lisa’s original uncropped, portrait crop, and LinkedIn crop photos. Photos courtesy of Lisa Famularo.
And that’s it! Now you have a quality, professional selfie for your LinkedIn profile. If you’d like more help with creating your LinkedIn profile or using your account, schedule an appointment with a career coach.
Image by Sonam Prajapati from Pixabay